It all starts with the engine.
Building the engine is fairly straight forward, and the kit pieces go together quickly and easily.
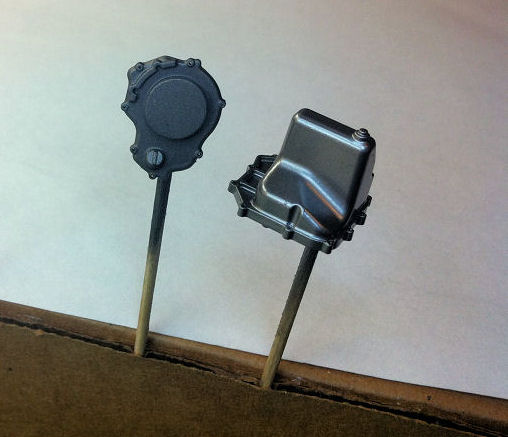
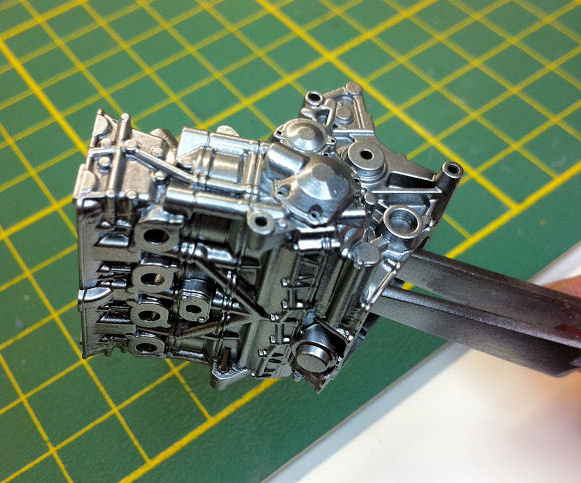
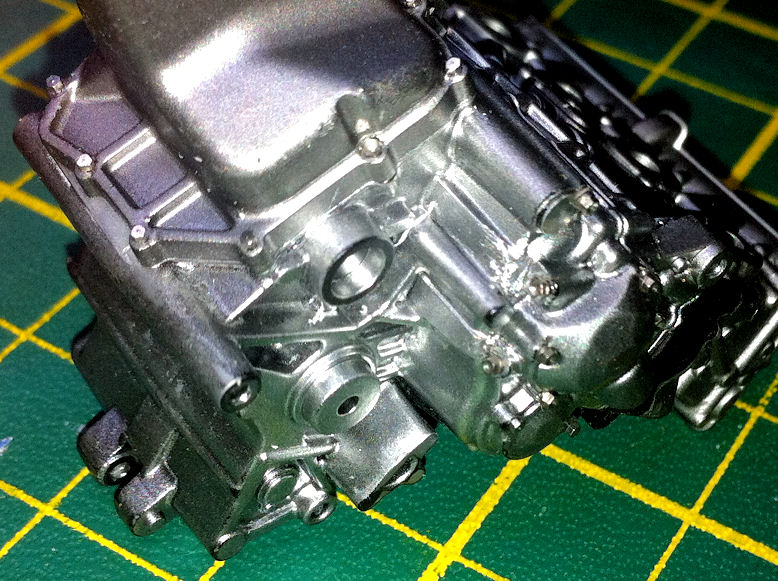
After seams were filled, I shaved off most of the molded "bolt heads" (which look nothing like real bolt heads) and drilled holes to accept scale bolts. The smaller engine parts — valve cover, oil pan, clutch cover — were airbrushed using various shades of Alclad II metallic finishes.
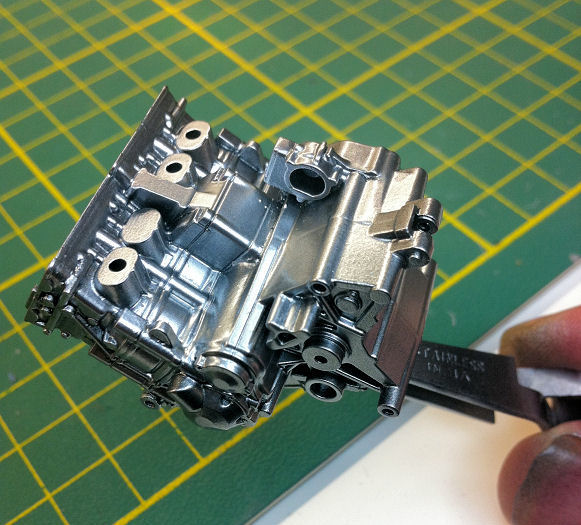
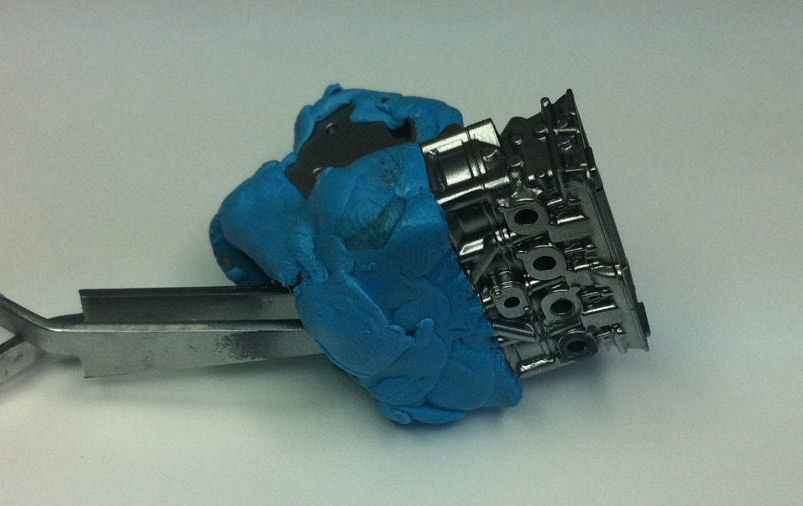
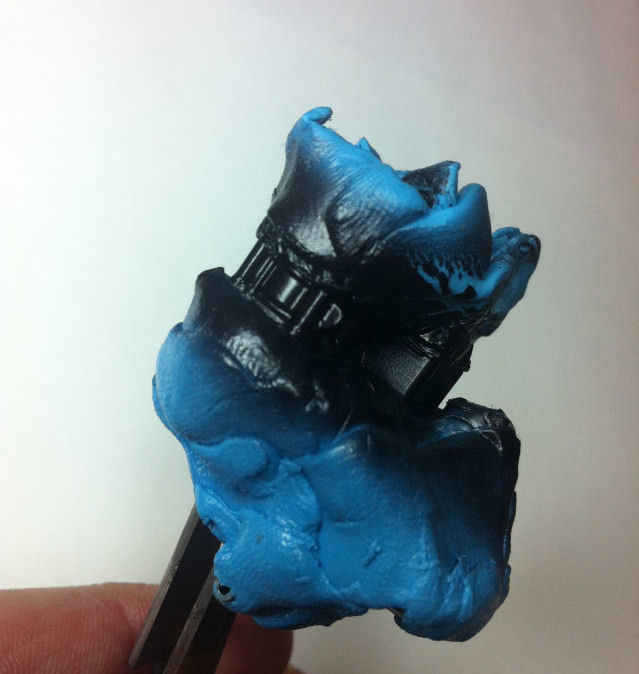
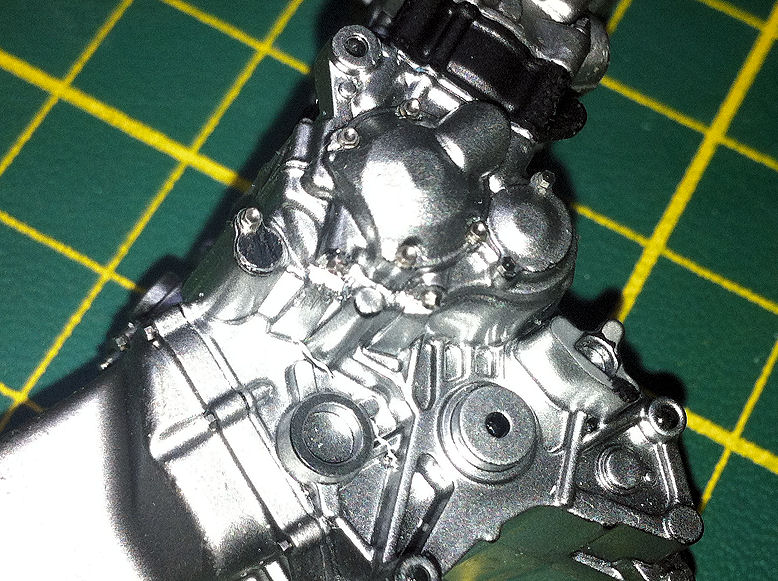
Then the difficult part began: masking the engine to airbrush on the different Alclad II finishes. The main engine would be 3 different colours: main crankcase (polished aluminum), cylinders (gunmetal), and heads (dull aluminum). Since the engine casting is very irregular, using tape to mask the different sections would be impossible to do. So I instead used Blue Tac to mask the different areas.
11-Feb-2012:
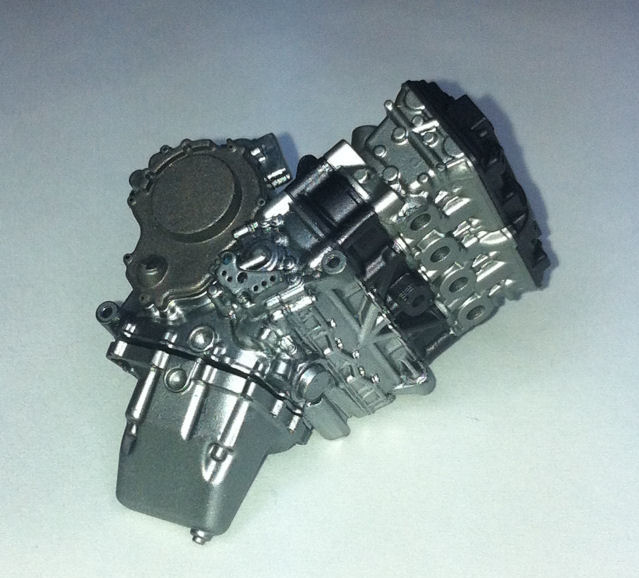
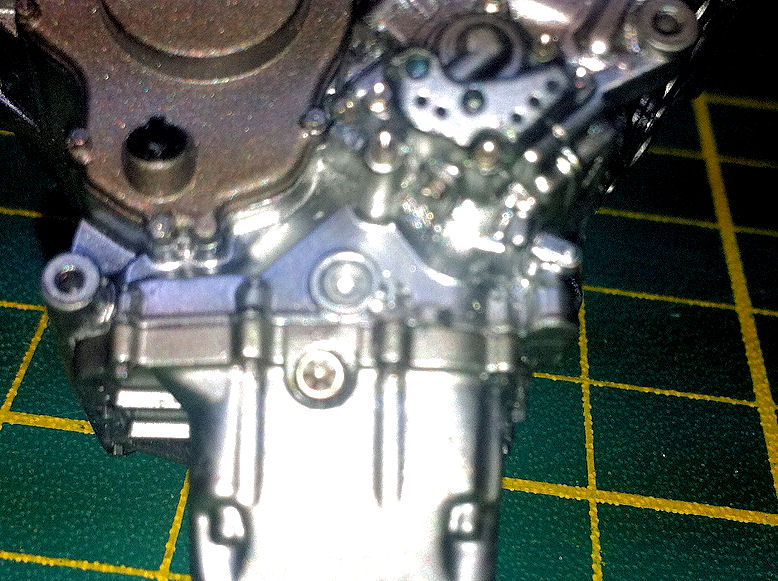
Added micro-bolts (from Tuner Model Manufactory) to the engine, and it added a bit of nice realism. Sorry for the poor quality pictures, I'll try to get better ones later.
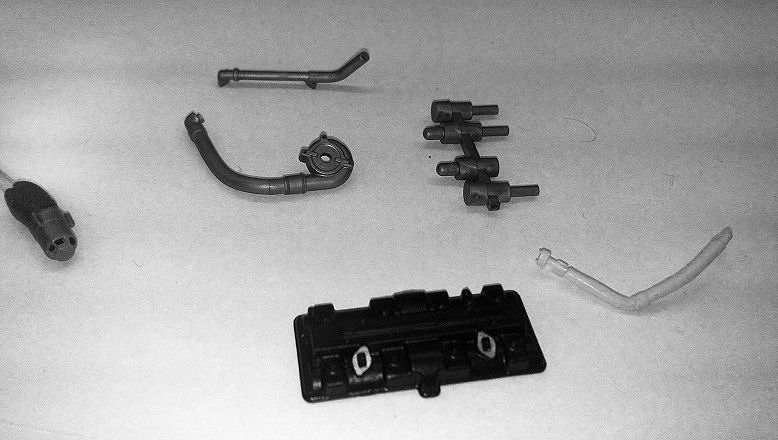
Started prepping the other engine pieces for painting and installation, including those from the Top Studio Detail-up Set.
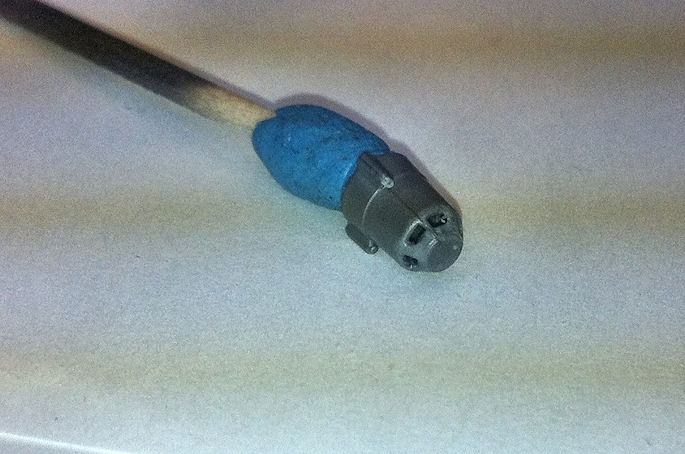
Used drill bits to carefully hollow out the starter motor to open up the holes at the end.