Deck
Work on the deck consisted of multiple steps which included:
- Creating U-673's deck
- Upper deck bow & stern ends
- Under-deck support structures
- Installing the deck
- Bollards
- Staining the deck
- Adding PE details
- Capstan
Creating U-673’s Deck
Having had very good experiences with Nautilus Models, it was a no-brainer to turn to them for a wooden deck set.
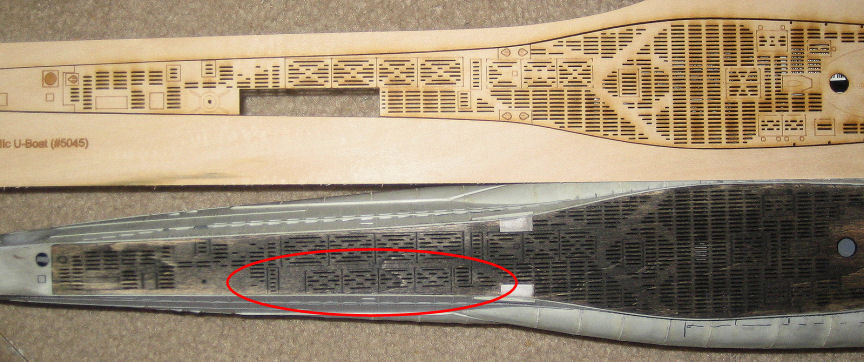
The deck for U-673 would not be an “off the shelf” decking solution like it was for U-625. U-673 was a converted VIIC and here I was using a Revell VIIC/41 kit... just a few differences between the boats especially in the deck configuration. While the rear half of a Nautilus VIIC/41 slotted (not planked) deck would be just fine, the front part would be wrong. It was time to throw myself on the mercy of Nautilus Model’s chief designer to help me design the proper deck for U673.
The proper forward half of the deck would be a slotted “hybrid” between two of Nautilus Model’s wooden deck offerings: mostly the 72-504 deck with some elements of the 72-501 VIIC deck. U-673 did not have liferaft containers on the port side of the forward deck (like on the 72-504) but rather had the large square hatches (from the 72-501 deck). A few sessions with Nautilus on the CAD drawings and voila! U-673’s deck was born.
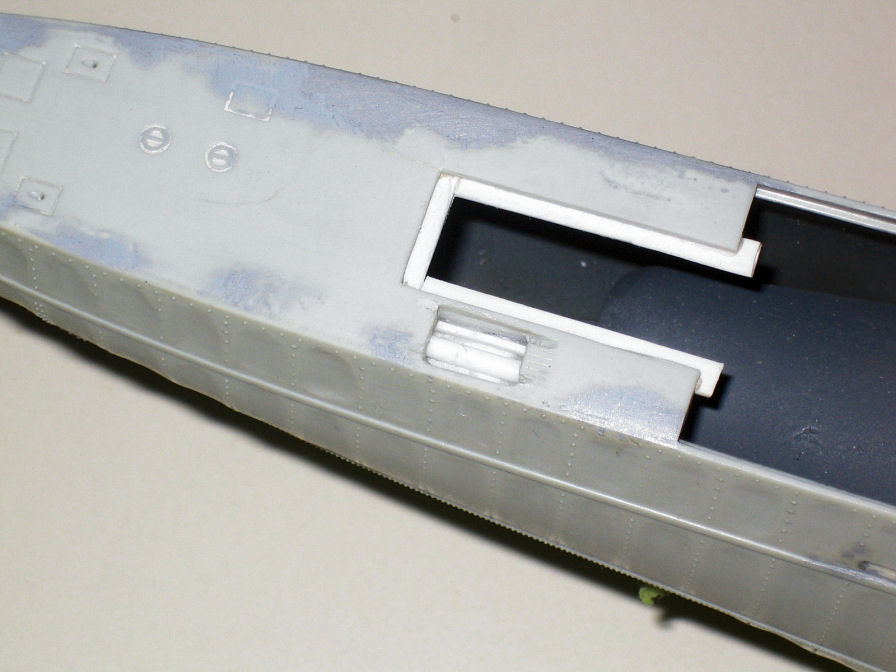
Upper Deck — Bow & Stern Ends *New*
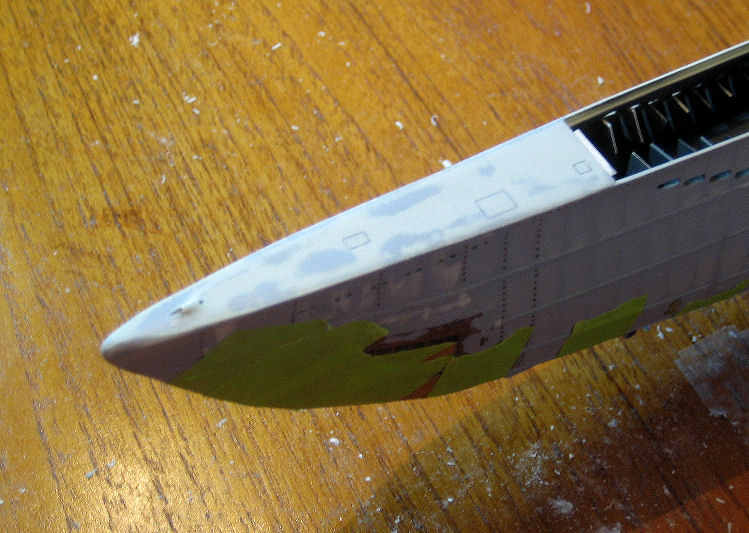
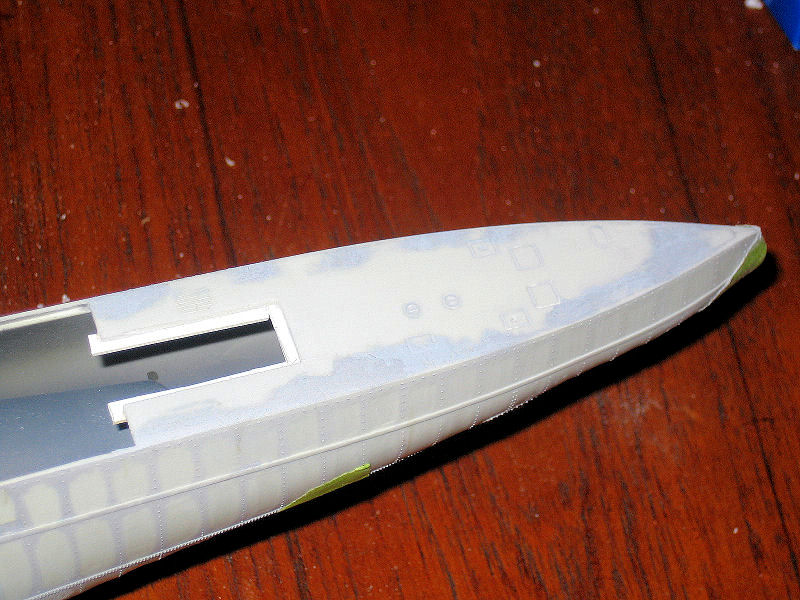
The bow and stern ends of the upper deck on a real U-boat were made of steel; they were not covered by wood like the rest of the deck. As such, the deck ends are best replicated using the kit pieces.
Using my super-thin JLC Saw, I cut off the bow and stern ends of the kit upper deck. I sliced off all surface detail from the deck ends (since I would be using PE pieces for detail) and sanded them smooth. I then added pieces of strip styrene to the bottom of the deck ends to act as supporting shelves for the Nautilus wooden deck.
After cementing the deck end pieces to the hull (again using Tenax-7R liquid cement) and allowing them to dry, I used Tamiya putty to fill the seams, then sanded everything smooth again. The PE detail pieces will be added after the Nautilus deck is installed.
I used strip plastic to add supporting shelves to the plastic bow & stern ends of the deck, to support the wood deck. Since I would be adding PE detail pieces to the bow & stern ends of the deck, I added a bit of “under deck” piping that would show through the various grills.
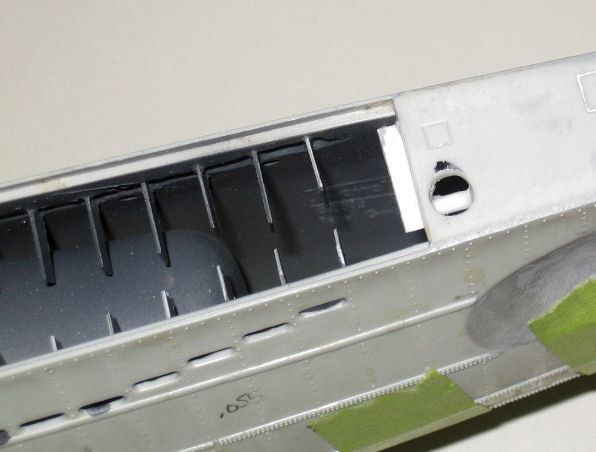
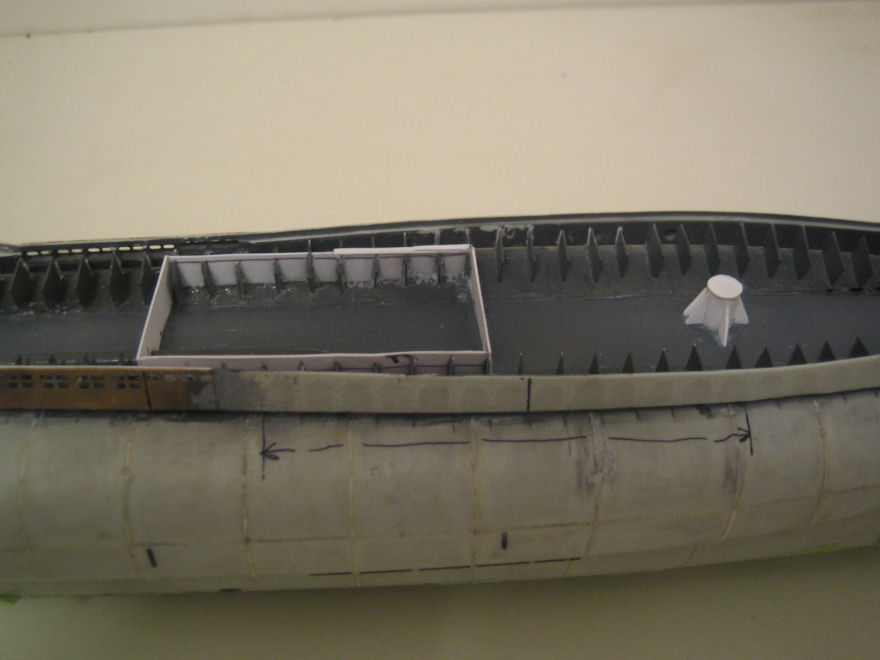
Under-deck Support Structures *New*
The under-deck support stand that would normally support the heavy 88mm deck gun (absent on U-673) was scratchbuilt from styrene tube and sheet. I also added a supporting structure framework where the conning tower would be below the deck.
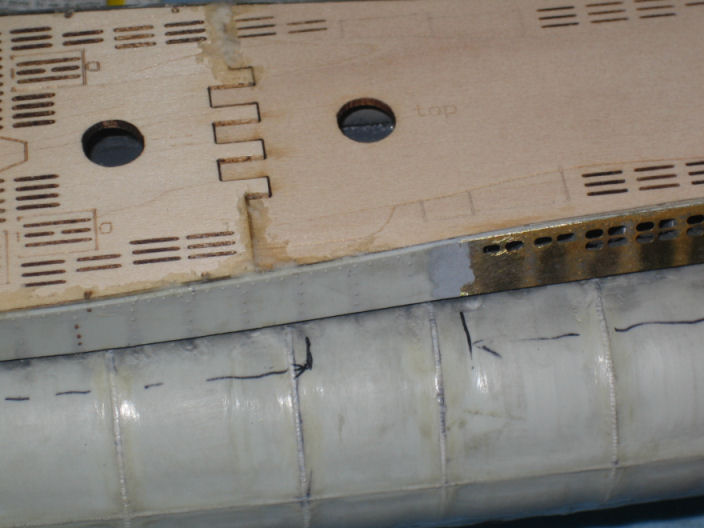
Installing the Deck
I glued the wooden deck to the hull using LePage #6 Regular Epoxy Glue; this regular epoxy has a longer setting time than 5-min epoxy, which would give me more working time. After gluing the deck in place, I used lots of blue masking tape to bind it tightly to the hull to minimize gaps between the hull and the deck. The epoxy cured in 24 hours.
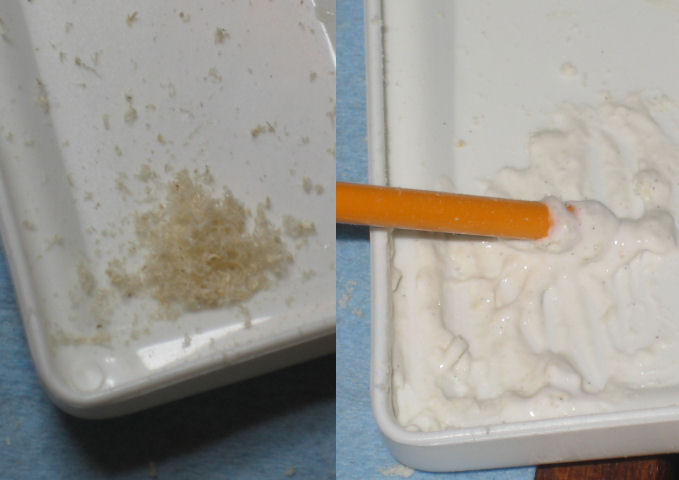
After removing the tape and doing some initial sanding, I found a few minor gaps between the deck halves. I filled the gaps with a home-made wood putty — a mixture of WeldBond glue and sanded balsa shavings. Another 24 hours and the wood putty was hard enough to sand smooth.
After that, it took a fair bit of sanding to ensure that the deck lay flat and even with the edges of the hull. Wooden decks are great, but you need to wear a filter mask when sanding them because of all the dust it produces.
Bollards
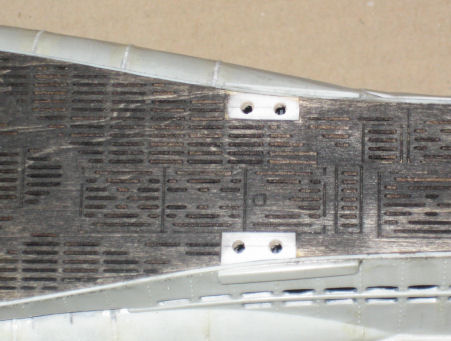
I created bollard deck plates out of 0.020" sheet styrene cut to size. Since each plate would not be sitting atop the wooden deck (but rather would be flush with the top of the deck), I had to recess each plate into the wooden deck. For each plate I scraped away a recess in the deck, cut out the plastic plate, and glued the plate onto the deck. A bit of sanding was needed to make the top of the bollard plate flush with the top of the wooden deck.
For the bollards themselves I chose to use the bollard caps from the Modelbrass PE set. Each cap was soldered to the end of a short piece of 3/32" brass tubing, and all edges were filed smooth. I then laid out and drilled holes in the bollard deck plates. The bollards will be one of the last things to be painted and inserted into the deck.
Staining the Deck
Like with U-625, instead of painting the deck I stained it with MinWax wood stain (Ebony #2718) to retain the natural look & texture of the wood.
But why black?
Check out the excellent U-boat Colours Report.
U-boat wooden decks were initially coated with a black preservative, and after some sun exposure this turned dark charcoal... then slightly brown. The MinWax is wonderful to work with... if you overdo the staining you just have to do some sanding to lighten the colour again.
Adding PE Details to the Deck
Adding PE details to the deck involved several different phases:
- Grafting PE pieces to the wooden deck
- Adding bow & stern PE upper decks
- Adding PE hatches and hinges (properly coloured)
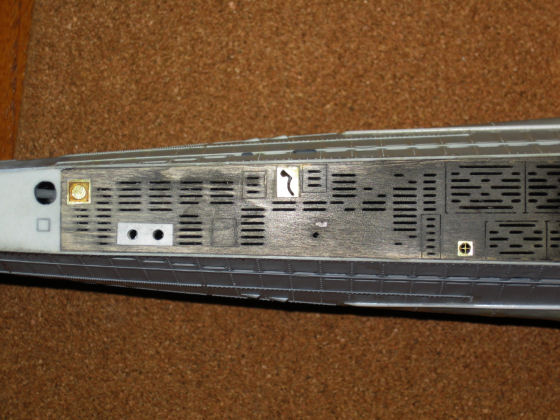
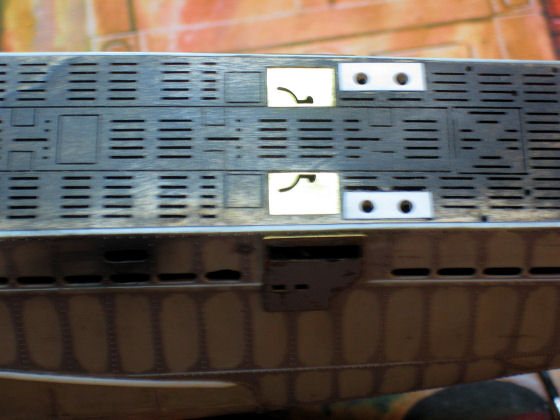
Grafting PE onto the Deck
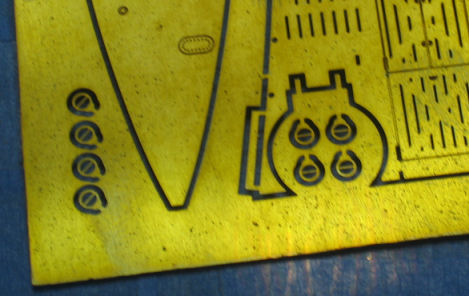
I grafted some brass detail pieces from the Modelbrass PE deck onto the wooden deck.
This involved a few steps:
- Cutting out the PE pieces & sanding to size.
- Scraping away a small amount of wooden deck material so the PE piece would sit flush on the deck.
- Using CA glue to cement the PE piece to the wooden deck.
- Sanding the area to ensure all pieces are flush.
Adding Bow & Stern PE Upper Decks
As with my model of U625, I added the bow & stern PE upper decks from the Eduard PE set; these PE decks have very good detail on them, include safety tread relief patterns. I used Gator's Grip Hobby Glue to cement the PE decks to the styrene upper decks described in section “Hull Assembly.” The edges of the PE decks had to be filed down so they would not overhang the kit hull. The edges were sealed with CA glue and some putty.
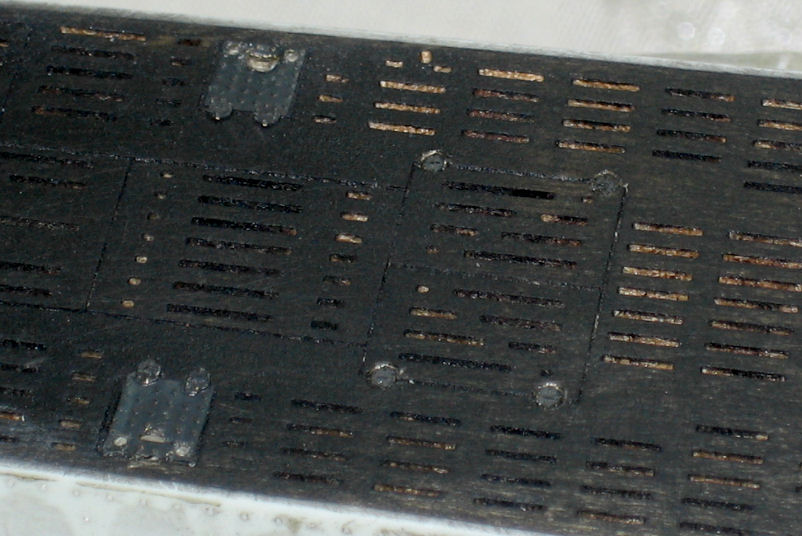
Adding PE Hatches and Hinges
There are many small square hatches on the deck, so I added them from the Eduard PE set.
Before adding the PE hatches to the deck (following the Eduard instructions and the outlines on the wooden deck, I coloured the PE hatches black using JAX Pewter Black electrochemical solution. I decided to use this solution to blacken the PE pieces as it does not leave a film or paint coating on the piece, and the piece can be attached to the deck using CA almost immediately.
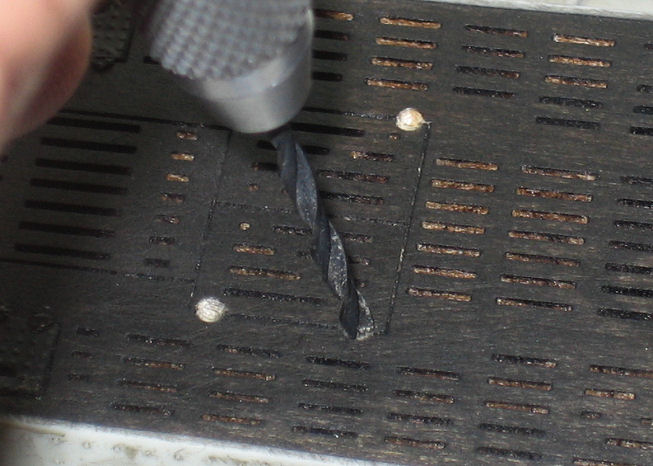
Before adding the individual hinges to the wooden deck, I used a 5/64" drill bit to create a shallow depression where the hinge would sit in/on the deck. The hinges were blackened using the same JAX Pewter Black electrochemical solution as used on the PE hatches, and then were CA'd into place in the drilled depressions.
Capstan *New*
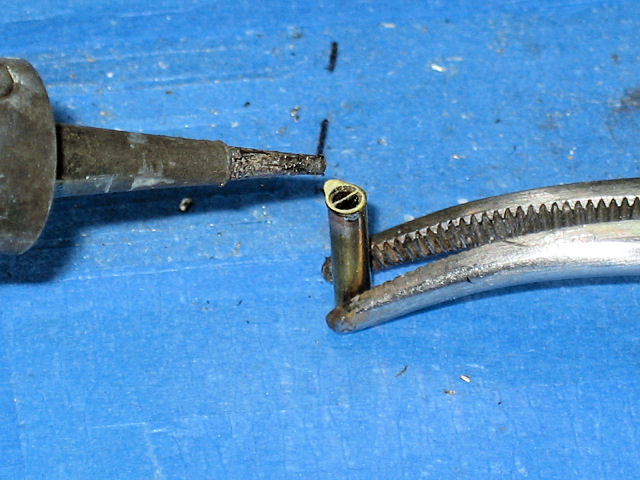
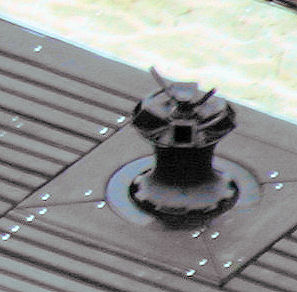
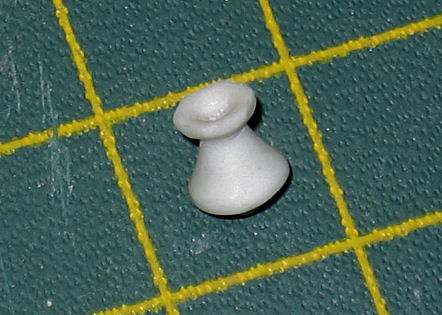
The capstan (retractable winch at the bow) included in the kit has the wrong shape, as shown in the pics below. The kit capstan has a 6-sided top, with another disk "sprouting" above it. A real capstan has 4 square tube protrusions, and a curved metal bar handle.
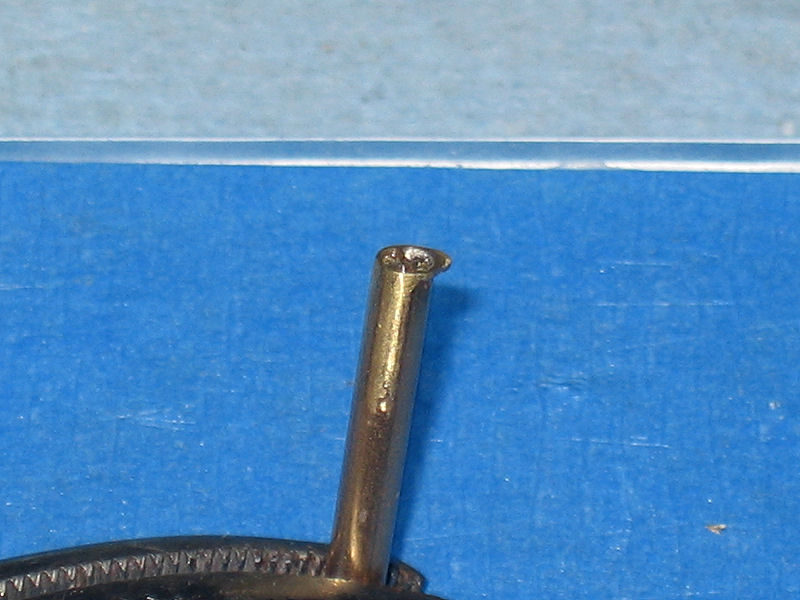
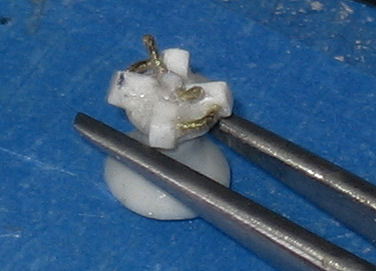
Making the kit capstan look more realistic was relatively easy. First the topmost "disk" was cut off, and the 6-sided top was sanded into a circle. Then I used a large-size drill bit tip to make a shallow depression in the top of the capstan. After that I cut four short pieces of 0.040 x 0.040" square rod and cemented them in the top depression, angling them up slightly and then sanding to size.
The top wire handle and two side handles were made from pieces of 0.015" brass wire.
The result is a much more realistic-looking capstan.
